Save
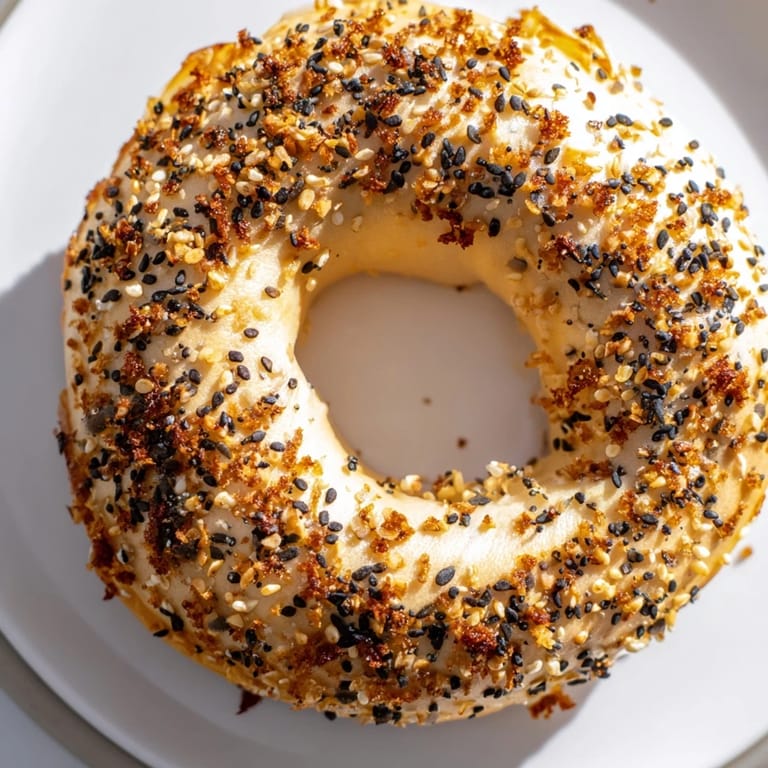
Save The first time I made no-yeast bagels, I was honestly skeptical. My kitchen had been quiet all morning—no rise times, no proofing, just me and a bowl of Greek yogurt wondering if this could possibly work. Ten minutes later, I was shaping dough with my hands and marveling at how soft it felt, like a cloud that actually held together. By the time they came out of the oven, golden and studded with everything seasoning, I understood: sometimes the best discoveries are the simplest ones.
I made these on a Saturday morning when my sister texted asking if I could whip up breakfast before she swung by. I had no yeast in the house, which would've been a disaster with any normal bagel recipe, but these came together so quickly that I was toasting them with cream cheese before she even arrived. She bit into one, raised an eyebrow, and asked for the recipe immediately—that's when I knew I'd found something worth repeating.
Ingredients
- Self-rising flour (1 cup): This is your shortcut to bagel magic; it already has the leavening built in, so you skip the yeast dance entirely.
- Plain Greek yogurt (1 cup full-fat or low-fat): Full-fat yogurt creates a slightly richer, more tender crumb, but low-fat works beautifully too—the moisture is what matters here.
- Large egg (1, for egg wash): One beaten egg gives the bagels that golden, slightly glossy finish that makes them look like they came from a real bakery.
- Everything bagel seasoning (2 tablespoons): Don't hold back; this seasoning is the whole personality of the bagel, so be generous when you sprinkle it on.
Tired of Takeout? 🥡
Get 10 meals you can make faster than delivery arrives. Seriously.
One email. No spam. Unsubscribe anytime.
Instructions
- Preheat and Prep:
- Turn your oven to 375°F and line a baking sheet with parchment paper—this keeps your bagels from sticking and makes cleanup one less thing to think about.
- Mix the Dough:
- Combine the self-rising flour and Greek yogurt in a bowl and stir with a spoon until a shaggy dough comes together. It'll look a bit rough and sticky at this point, and that's exactly right.
- Gentle Kneading:
- Turn the dough onto a lightly floured surface and knead gently for just 2–3 minutes until it smooths out and feels elastic. The key word here is gentle—overworking it makes the bagels tough, and we want them soft.
- Shape Into Bagels:
- Divide the dough into 4 equal pieces, roll each into a rope about 7–8 inches long, then pinch the ends together to form a bagel shape. It's easier than it sounds, and honestly kind of satisfying to do with your hands.
- Brush and Season:
- Beat the egg in a small bowl, brush each bagel all over with the egg wash, then sprinkle the everything seasoning generously on top. The egg wash is what gives them that bakery shine, so don't skip it.
- Bake Until Golden:
- Bake for 22–25 minutes until the bagels are golden brown and cooked through—they should sound slightly hollow when you tap them. If you're not sure, bake an extra minute; slightly overdone bagels are better than doughy ones.
- Cool and Serve:
- Let them cool on a wire rack for 5 minutes before eating, which gives them time to firm up just enough to slice cleanly.
 Save
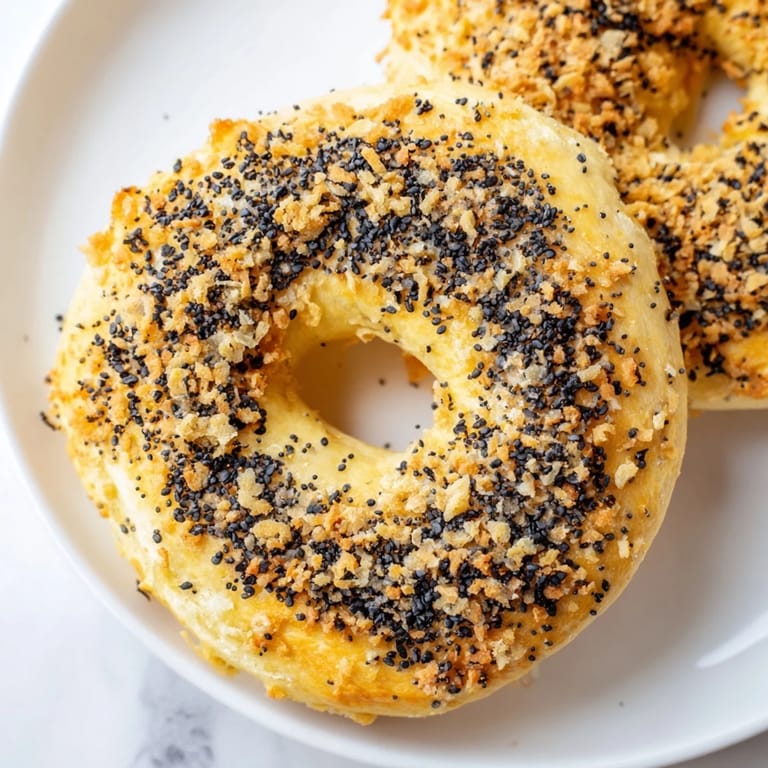
Save There's something unexpectedly grounding about pulling warm bagels from the oven on a quiet morning. No yeast bubbling away in the background, no waiting, just the smell of everything seasoning filling your kitchen and the knowledge that you made something honestly good in half an hour.
Why These Beat the Yeast Version
Yeast bagels demand respect—proofing times, temperature control, sometimes an overnight cold ferment. These yogurt bagels skip all that theater and show up hot and ready to eat before lunch is even a thought. The Greek yogurt does the heavy lifting, creating that tender crumb through moisture and protein rather than fermentation, which means you get a different kind of bagel, but an honestly good one.
Topping and Serving Ideas
Everything bagel seasoning is already doing the heavy lifting flavor-wise, but these bagels are also blank enough to welcome whatever you're in the mood for. A schmear of cream cheese, smoked salmon and capers, avocado and a fried egg—they adapt to whatever breakfast mood you're in. They're also sturdy enough to handle being sliced and toasted the next day, which is honestly when they taste even better as the flavors meld and the exterior gets a little crispier.
Storage and Make-Ahead Tips
Fresh bagels are best eaten the day you make them, but life isn't always that straightforward. These keep in an airtight container for 1–2 days, and honestly, a quick toast before eating actually improves them—it brings back that warm, soft interior while crisping the exterior just slightly. You can also freeze them for up to a week; just thaw and toast before serving and they're basically as good as fresh.
- Wrap cooled bagels individually in foil before storing so you can grab one without opening the whole container to air.
- If you're making these for guests, bake them an hour or two ahead and leave them uncovered so the exterior stays a tiny bit crispy.
- These freeze beautifully, so if you're feeling organized one weekend, make a double batch and stash half for a future lazy morning.
 Save
Save These bagels are proof that the best recipes aren't always the longest ones. Quick, honest, and genuinely delicious—exactly what breakfast should be.
Recipe FAQs
- → Can I use regular flour instead of self-rising flour?
Yes, substitute 1 cup of all-purpose flour plus 1½ teaspoons baking powder and ¼ teaspoon salt to mimic self-rising flour.
- → Is yeast required for these bagels?
No yeast is used; the combination of Greek yogurt and self-rising flour allows the dough to rise and stay soft.
- → How do I make the bagels dairy-free?
Use a plant-based Greek-style yogurt and ensure the flour used is free from dairy ingredients.
- → What toppings pair well with these bagels?
Try cream cheese, smoked salmon, or your favorite spreads to complement the savory everything seasoning.
- → How should I store leftover bagels?
Keep them in an airtight container for 1–2 days. Toast before serving to refresh the texture and flavor.