 Save
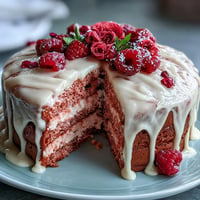
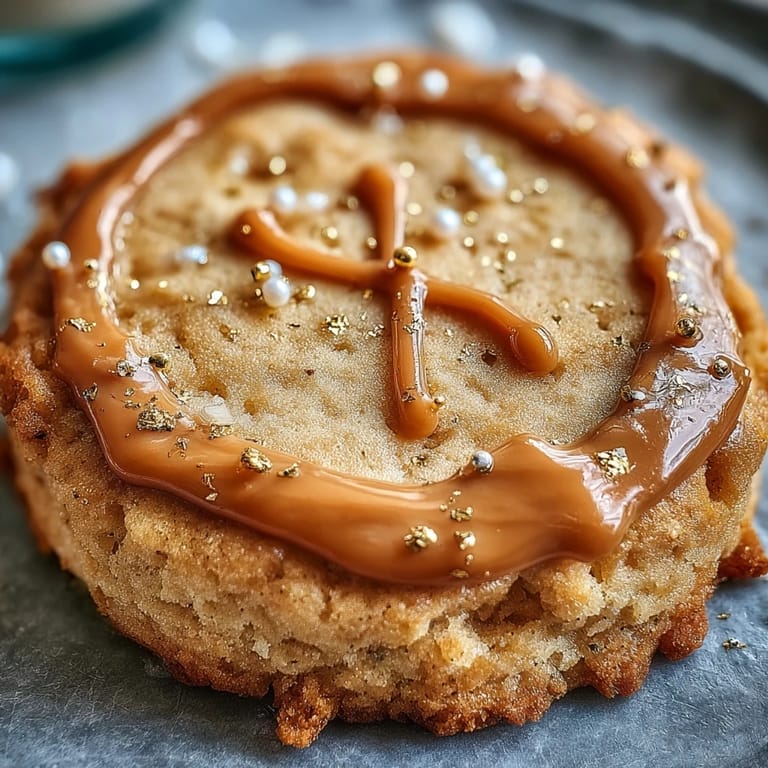
Save Some afternoons are simply made for baking, and it was the gentle golden light filtering into my kitchen one spring day that inspired me to try crafting a Taurus Zodiac Cookie Box. I could almost smell the buttery sweetness before I’d even tied my apron, imagining the look of delight when friends would open the lid to discover hand-painted celestial treats twinkling inside. There’s something quietly powerful about expressing creativity with flour, sugar, and edible shimmer—not just baking, but celebrating a friend’s star sign in edible form. The fun is in the details: tracing Taurus horns, dusting constellations in luminous gold, and sneaking bites of dough when no one is watching. As soon as I finished decorating my first batch, I knew these cookies would bring starlit magic to any celebration.
Last year, I surprised my astrology-loving cousin with this dreamy cookie box for her birthday. We laughed as we tried tracing tiny Taurus constellations, our fingers smudged with gold and our voices echoing through the house as we debated which sign had the tastiest cookie.
Ingredients
- All-purpose flour: Provides structure and a soft bite; sifting first makes the cookies wonderfully tender.
- Unsalted butter: Ensures richness without overpowering saltiness; let it soften at room temperature for easier creaming.
- Granulated sugar: Sweetens and slightly crisps the edges; creaming it well with butter aerates the dough.
- Large egg: Binds the dough and adds a gentle richness; bring to room temperature for smoother mixing.
- Pure vanilla extract: Delivers warm vanilla notes that linger; don’t skimp on quality here.
- Almond extract (optional): Adds subtle depth; a little goes a long way, so measure with a light hand.
- Salt: Brings all the flavors into balance; just enough sharpness to enhance the butter and sugar.
- Powdered sugar: Key for royal icing; sifting prevents clumps and helps create glossy peaks.
- Egg whites or meringue powder: The protein backbone of fluffy, stable icing; if using eggs, separate carefully to avoid any yolk.
- Lemon juice: Brightens the icing and makes it less sweet; fresh juice is best for zing.
- Vanilla extract (for icing): Softens the sugary edge of the royal icing and makes decorating even more delicious.
- Edible gold luster dust: Turns your cookies regal; keep dry until ready to paint for best sparkle.
- Clear alcohol (vodka or lemon extract): Acts as a medium to mix with luster dust; evaporates leaving only shine behind.
Tired of Takeout? 🥡
Get 10 meals you can make faster than delivery arrives. Seriously.
One email. No spam. Unsubscribe anytime.
Instructions
- Cream the Butter and Sugar:
- Let’s start by beating the softened butter and granulated sugar together in a large bowl until pale and fluffy—it should feel light and almost airy under the spoon.
- Mix in Wet Ingredients:
- Add the egg, vanilla, and almond extract (if using), then mix until silky and smooth, pausing to scrape down the sides if needed.
- Add the Dry Ingredients:
- Whisk flour and salt together separately; then, gently add them to your wet mix in batches, stirring until a soft dough forms.
- Chill the Dough:
- Divide dough in half, flatten into discs, wrap snugly, and pop in the fridge for at least half an hour until firm but pliable.
- Roll and Cut:
- Preheat your oven to 350°F (175°C), roll the dough on a lightly floured surface to 1/4-inch thickness, and cut out as many Taurus or zodiac shapes as you can muster.
- Bake the Cookies:
- Line baking sheets with parchment, lay the cookies 1 inch apart, and bake 10–12 minutes—just until the edges turn gentle gold and the aroma fills your kitchen.
- Cool and Prepare for Icing:
- Let your cookies cool completely on racks so the icing won’t slide off—but go ahead, steal just one warm from the tray if you must.
- Make Royal Icing:
- Beat egg whites or meringue powder with water to soft peaks, add sifted powdered sugar, then lemon juice and vanilla, and whip until stiff and glossy—think marshmallow clouds.
- Tint and Bag the Icing:
- Split the icing if you want colored details, keeping the main batch white; spoon into piping bags and snip a small tip for steady outlining and flooding.
- Decorate the Cookies:
- Carefully pipe outlines and flood shapes, then let cookies sit for about 2 hours to dry—the anticipation is almost as sweet as the cookies.
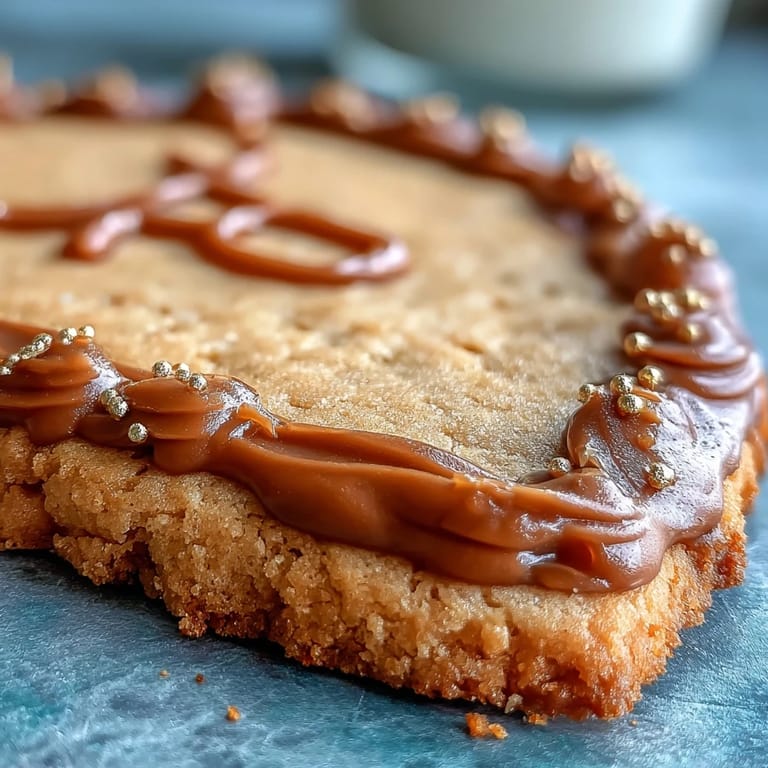
- Add Gold Accents:
- Mix gold luster dust with clear alcohol to create shimmering paint, and freehand Taurus horns, signs, or star clusters with a fine brush once the icing is dry.
- Box and Present:
- Gently nestle the cookies in a lined gift box, maybe tossing in a hand-written Taurus card for extra flair—it’s the little touches that make this gift unforgettable.
 Save
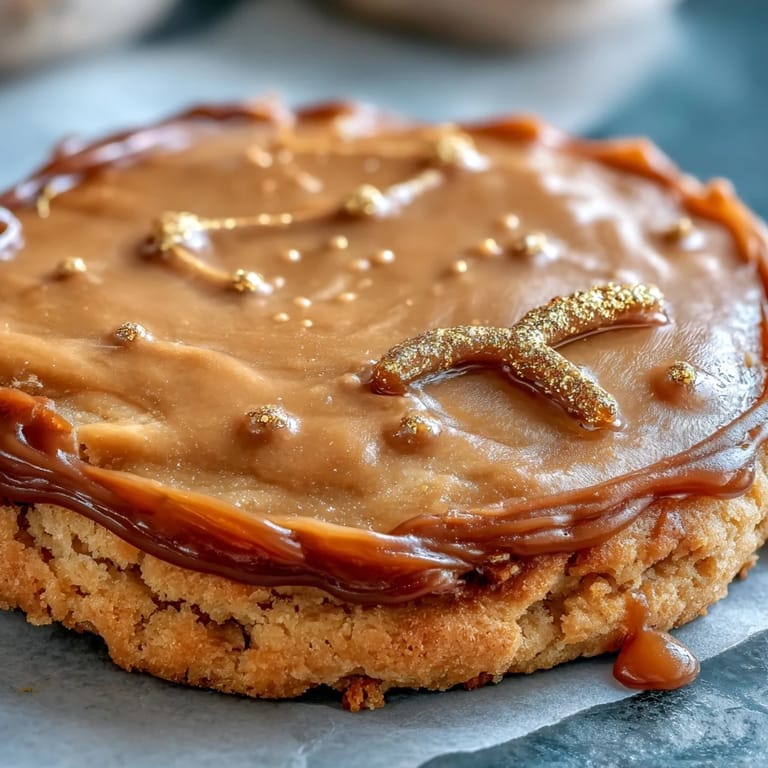
Save There was a moment when we gathered around the box after dinner, passing cookies and holding them up to the light, delighted by the way the gold seemed to sparkle in the lamplight. It felt like more than a dessert—it was a constellation we’d made ourselves, right there on the table.
Decorating Like a Star
Don’t worry if your Taurus horns or stars aren’t perfect—they’ll still look magical once the gold dries and catch the eye in any light. Experimenting with different patterns, accidentally painting a few extra stars, or sneaking in a hidden initial just adds to the story.
Making It Your Own
I once swapped almond extract for a burst of lemon zest and loved the surprise brightness against the sweet royal icing. Customizing colors for your zodiac or the recipient’s favorite palette makes every box personal and unexpected.
Boxing and Gifting Tips
Lining your box with parchment helps prevent the cookies’ gold-painted sides from smudging, and a simple ribbon instantly makes the gift feel special. Slipping in a hand-written note about the zodiac adds a charming touch.
- Arrange cookies snugly to prevent shifting.
- Let icing dry fully to keep designs crisp.
- Use a box tall enough so the cookie tops aren’t crushed.
 Save
Save Here’s to golden cookies and star-kissed celebrations—may every bite feel as special as a wish made on a new moon. If you find yourself with a few left over, they make midnight snacks you’ll never forget.
Recipe FAQs
- → How do I keep cookies from spreading during baking?
Chill the dough well before rolling and again once cut; a firm, well-chilled dough holds its shape and produces crisp edges. Avoid overworking the dough and use a light dusting of flour when rolling.
- → What consistency should royal icing have for flooding?
Flooding icing should be smooth and slightly runny so it levels itself—aim for a ribbon that disappears in about 10 seconds when drizzled from a spoon. Thicken for outlines and thin for filling.
- → How do I achieve a true gold finish without smudging?
Allow the flooded icing to dry fully (several hours or overnight). Mix edible gold luster dust with a few drops of clear alcohol or extract to make a paint; apply with a fine brush and let cure before handling.
- → Can I swap almond extract for another flavor?
Yes—substitute almond extract with citrus zest (lemon or orange) for a fresh lift, or use additional vanilla for a more classic sugar-cookie profile.
- → What’s the best way to store and transport decorated cookies?
Store cookies in a single layer or separated by parchment in an airtight box once fully dry. For gifting, place tissue or parchment between layers and cushion with crinkle paper to prevent rubbing.
- → How can I make these dairy- and egg-free?
Use vegan butter and aquafaba (chickpea brine) as an egg replacer; for royal-style icing, meringue powder mixed with water can work in place of fresh egg whites for a vegan-friendly finish.